
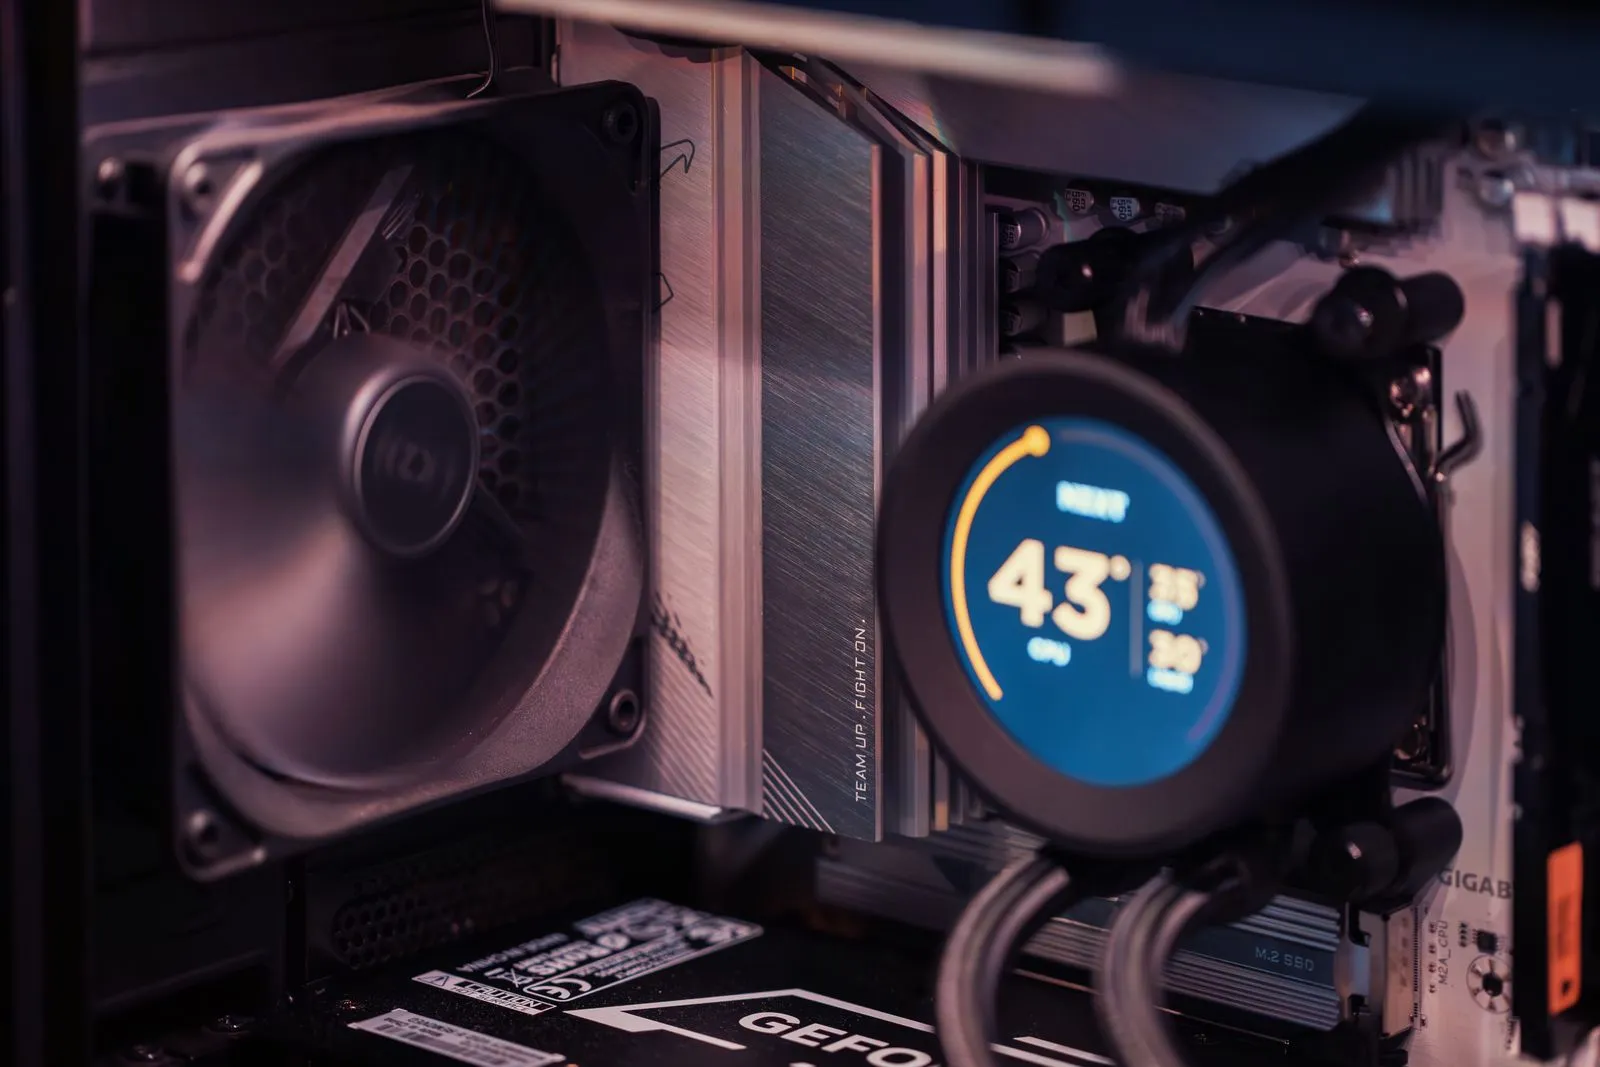
A gaming PC that will not start can be worrying, but a few safe checks may reveal a loose cable or power issue. Start with the outlet, power cord, and monitor before opening the computer or changing components. Pay attention to lights, sounds, and what appears on screen when you press the power button. Those details can help you decide what to try next and give a repair technician a clearer picture if the problem continues.
Check Power and Connections
Make sure the power cord is firmly connected to the PC and the wall outlet or power strip. Check that the outlet works by testing it with another device. If you use a power strip or surge protector, confirm its switch is on and its reset button has not tripped. Check the switch on the back of the PC’s power supply, if present; it should be set to the on position.
Disconnect unnecessary accessories, such as USB drives, controllers, and external storage, then try starting the PC again. Confirm the monitor has power and is connected to the graphics card’s video port rather than an unused port on the motherboard. Select the correct input on the monitor. Avoid repeatedly pressing the power button if you notice a burning smell, smoke, or unusual heat; unplug the PC and arrange professional help.
Notice What Happens
Press the power button once and watch and listen. Note whether fans spin, lights turn on, or the PC makes beeps or clicking sounds. If nothing happens at all, that differs from a computer that powers on but shows no picture. Also note whether it starts briefly and shuts down, restarts repeatedly, or stays on with an error message.
Check the monitor for a no-signal message, a blank screen, or a logo that appears before the display goes dark. If you can reach the startup screen or operating system, record any error message exactly as shown. Do not keep trying to start the PC if it repeatedly powers off, makes a new grinding sound, or smells overheated. Those clues can help narrow down the issue without taking the computer apart.
Try Safe, Simple Steps
If the PC appears completely unresponsive, shut it down and unplug it. Wait briefly, then reconnect the power cord directly to a known-working wall outlet, if practical, and try once more. Check that the cable is not visibly damaged. Do not use a damaged cord, and do not open the power supply; it can contain hazardous electrical components even when unplugged.
If the PC turns on but the screen stays blank, verify the monitor’s power, input setting, and video cable connections at both ends. If available, try a different compatible cable or monitor to see whether the display changes. Make one change at a time and note the result. Avoid reseating internal parts or changing BIOS settings unless you know how to do so safely, since those steps can add risk or make diagnosis harder.
Prepare Details for a Technician
Share what you checked and what happened after each step. Useful details include whether the PC has power, which lights or fans turn on, any beep or clicking pattern, what the monitor displays, and whether the computer shuts off or restarts. Include the exact wording of any error message and when the problem began.
Mention recent changes, such as a new component, a moved computer, a power outage, a system update, or an unusual sound or smell. If you know the PC’s model or component list, have that information ready, but do not guess. Phoenix PC Bench can help assess a gaming PC that still will not start; describe the symptoms and the checks you have already completed when requesting service.
Start with external power and display connections, then record the PC’s exact behavior rather than repeatedly trying to turn it on. Stop if you notice smoke, burning smells, or unusual heat, and leave internal electrical work to a qualified technician. If the basic checks do not resolve the issue, share your notes with a repair professional to help guide the next step.